Dirt Bike Graphics Kit Pro Customization Guide
Posted by Motoxart on 1st Nov 2025
Dirt Bike Graphics Kit Pro Customization Guide
A dirt bike graphics kit is a complete set of pre-cut vinyl decals designed to plaster over your bike's plastics. But they're a hell of a lot more than just stickers. A good kit is a statement—it's how you flash your personality, your race number, and your sponsors while also shielding your ride from flying rocks and roost.
Giving Your Dirt Bike a Pro-Level Identity
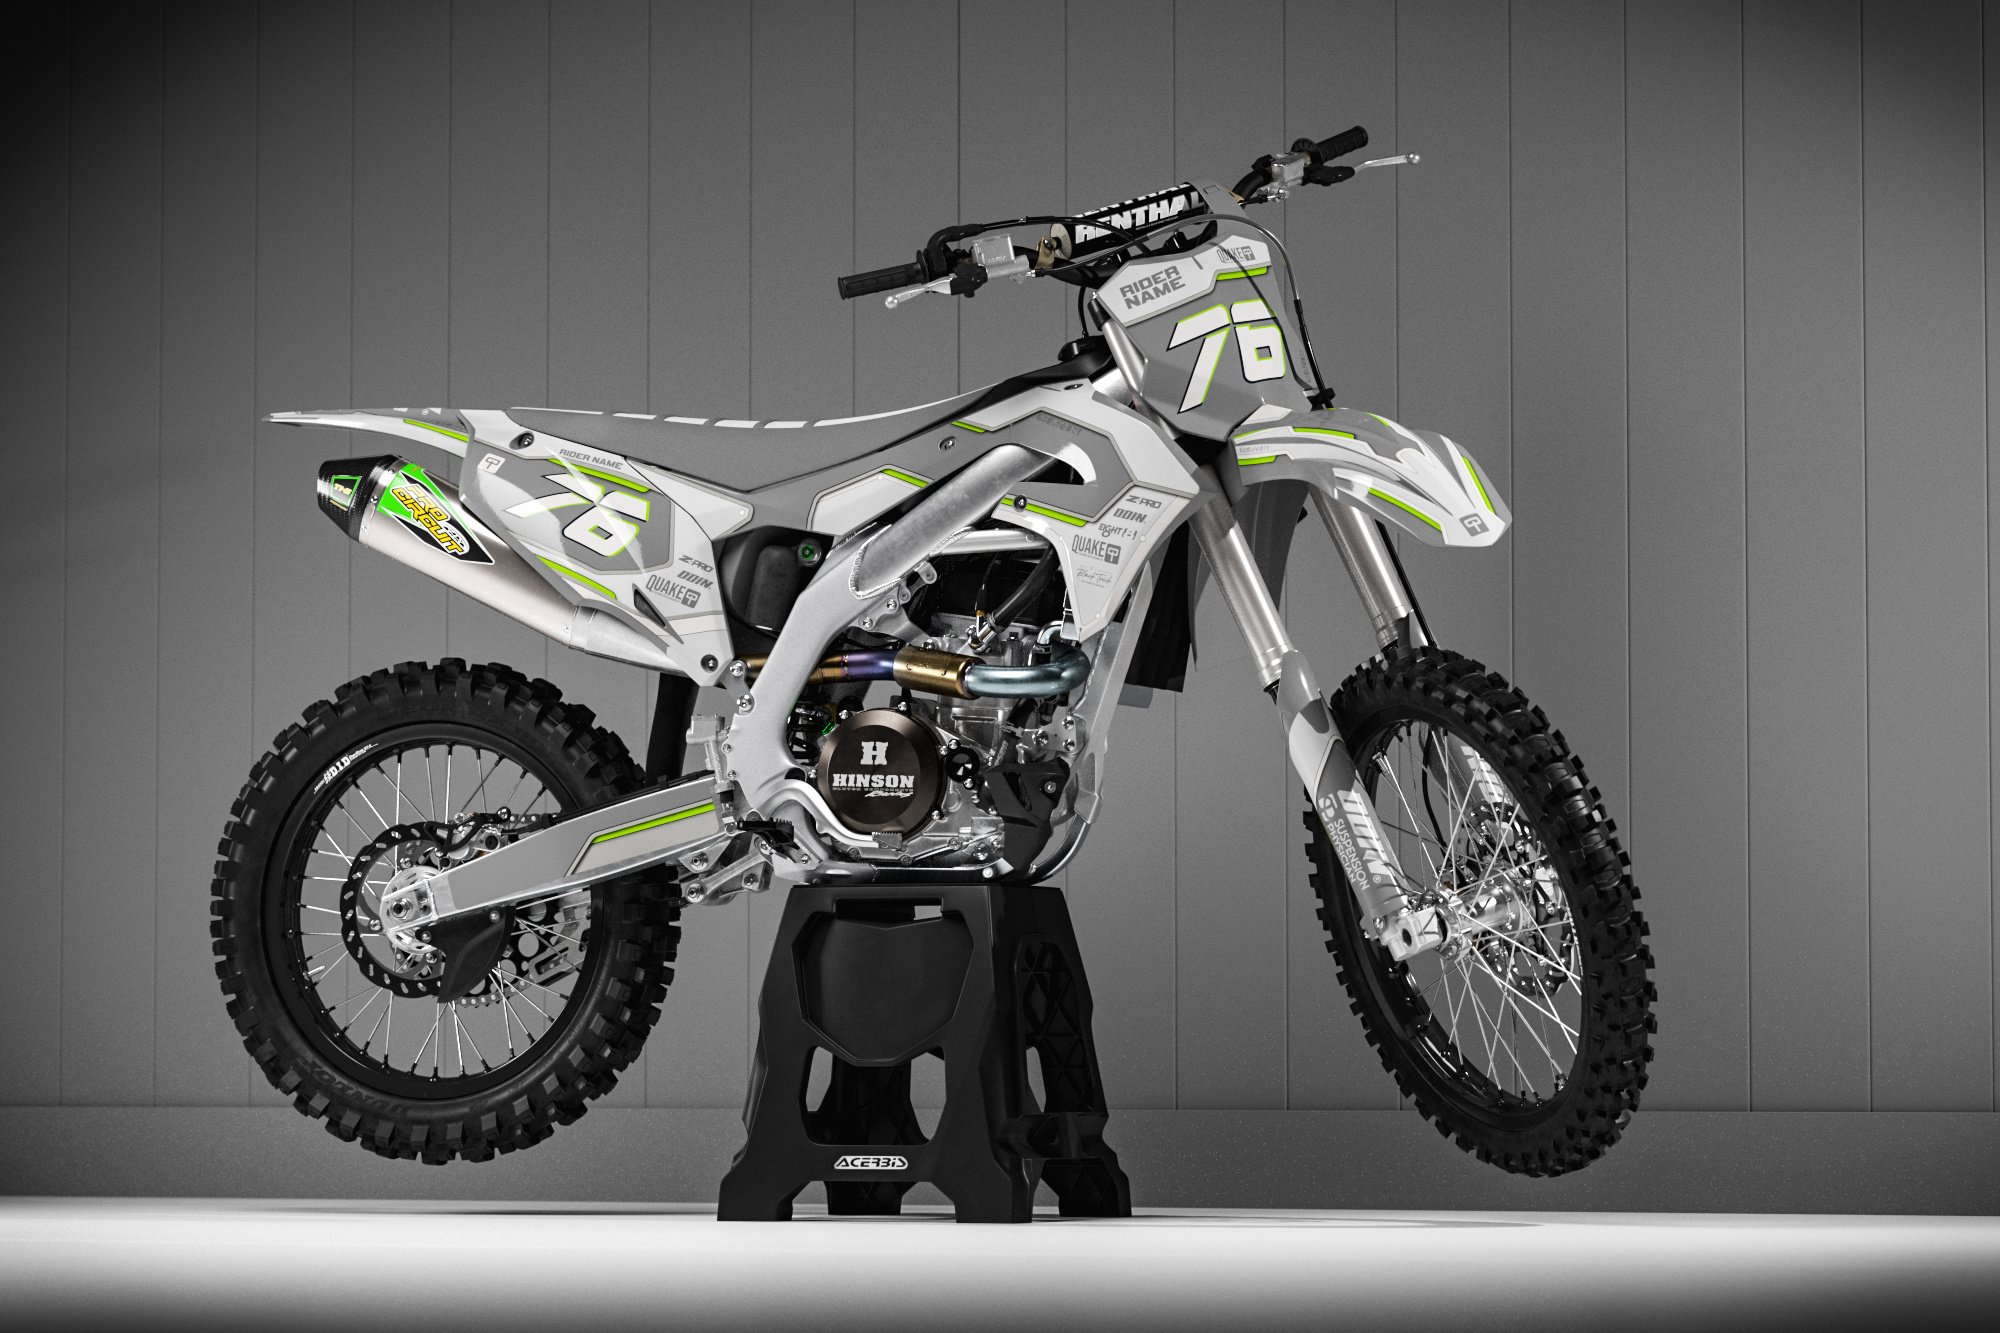
In the world of motocross, your bike is an extension of you. And while engine mods and suspension tweaks are key, the visual punch you make on the track is just as important. Honestly, a high-quality dirt bike graphics kit is the single most effective way to turn a stock bike into a personalised, race-ready beast.
This guide is your complete walkthrough for nailing that pro-level look. We'll get into everything, from the materials that actually hold up to the abuse, right through to the installation tricks that guarantee a clean, bubble-free finish. Whether you're a weekend warrior or lining up at the gate, you’ll learn how to choose, apply, and look after graphics that stay sharp and stick around.
More Than Just Stickers
Think of a graphics kit as a custom-fitted suit of armour for your bike's plastics. The heavy-duty vinyl and tough-as-nails laminate do two jobs at once:
-
Protection: They take the hits from roost, boot scuffs, and the inevitable tumbles that come with riding hard. This keeps the plastics underneath looking fresh for way longer.
-
Expression: This is your chance to slap on your name, race number, and sponsor logos. It creates that professional identity that makes you stand out from the pack.
-
Style: With endless designs and colour combos, you can match your bike to your gear and helmet for a cohesive, head-turning look.
To give you a quick rundown, here are the essential parts of a graphics kit and why they matter.
Dirt Bike Graphics Kit Essentials at a Glance
| Component | Purpose | Key Benefit |
|---|---|---|
| Pre-Cut Vinyl Decals | Custom-fit pieces for your bike's plastics (shrouds, fenders, etc.). | Ensures a perfect fit without trimming, saving time and hassle. |
| Protective Laminate | A thick, clear top layer that protects the printed graphics. | Prevents fading, scratches, and fuel spills from ruining your design. |
| Adhesive Backing | High-tack glue that bonds the vinyl to the plastic surfaces. | Creates a strong, long-lasting bond that resists peeling and pressure washing. |
| Custom Design | Your chosen colours, name, race number, and logos. | Transforms a stock bike into a unique reflection of your personal style. |
This drive for a unique look is a massive part of Australia's dirt bike scene. The local market has exploded, recently hitting around USD 849 million, all fuelled by a serious passion for off-road riding. With forecasts showing it could nearly double, the hunger for customisation options like a standout graphics kit is only getting stronger. You can read more about the Australian dirt bike market forecast to see where things are headed.
A graphics kit isn't just an accessory; it's a statement. It tells everyone who you are as a rider before you even kick the engine over, blending your personal style with real-world protection.
At the end of the day, a custom graphics kit breathes new life into your bike. It can make an older machine look brand new or give a fresh bike an instant custom feel right off the showroom floor. It’s a seriously affordable way to boost your pride in your ride and make a solid impression at every track and trail. This guide will make sure you get it right.
Understanding Graphic Materials and Finishes
Not all graphics are built to survive the chaos of the track or trail. Ever seen a kit peeling off after just one ride? The difference between that and one that looks sharp for years comes down to two things: the vinyl it’s printed on and the laminate that protects it.
Getting this combo right is the secret to a dirt bike graphics kit that actually lasts.
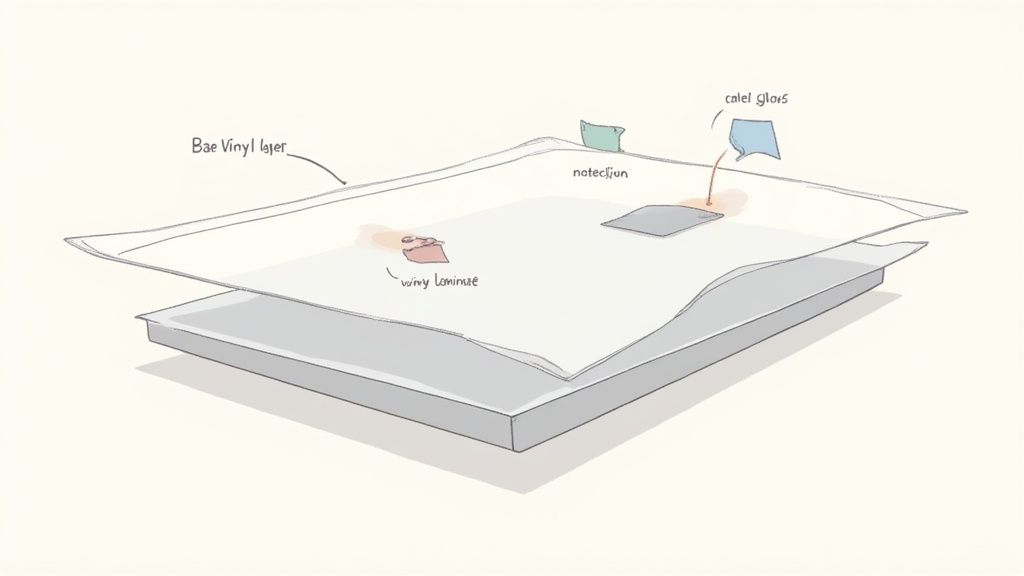
Think of the base vinyl like the rubber on a high-performance tyre. A cheap, stiff tyre won’t grip, and a low-quality vinyl won’t hug the crazy curves of your bike's plastics. The good stuff is a super flexible, conformable vinyl that stretches and moulds around sharp edges and deep grooves without trying to peel itself back up.
That flexibility is matched with an aggressive, high-tack adhesive. This isn't your average sticker glue. It’s engineered to grab onto low-energy surfaces like your polypropylene plastics and hang on for dear life, even when you're blasting it with a pressure washer or it’s caked in mud.
The Foundation: The Vinyl Base Layer
The base layer is where your design comes to life, but its most important job is simply to stick. It has to be pliable enough to wrap around tricky spots like radiator shrouds and fenders without a fight. A quality vinyl base makes sure the graphic lays down smooth, cutting down the risk of annoying air bubbles and lifting edges.
Without a solid foundation, even the sickest design is doomed. It’s the unsung hero that keeps your bike looking mint through every jump, berm, and washout.
A premium dirt bike graphics kit is an engineered system. The vinyl gives you the perfect fit and stick, while the laminate provides the toughness. One without the other is a recipe for disappointment.
This is exactly why grabbing a kit from a reputable supplier like MotoXart is a smart move. We use materials made specifically for the demands of motocross, so the foundation of your bike’s new look is solid from the get-go.
Your Armour: The Protective Laminate
If the vinyl is the foundation, the laminate is the armour. This is a thick, clear layer that goes over the printed vinyl, acting as a shield against everything you can throw at it. Its main job is to stop the ink from getting scratched off by roost, scuffed by your boots, or faded by the harsh Aussie sun.
Laminates come in different thicknesses, usually measured in "mils." For moto, a thicker laminate is standard—bringing the total thickness to around 15-21 mil when combined with the vinyl. This gives you serious protection without being too stiff to apply properly.
The laminate also decides the final look of your graphics. You’ve got a few options here, each with its own vibe:
-
Gloss Finish: This is the crowd favourite. It gives you that shiny, wet look that makes colours explode off the bike. It's the classic factory finish that always looks clean and sharp.
-
Matte Finish: For a more modern, stealthy style, a matte laminate delivers a non-reflective, flat finish. It’s great at hiding minor scuffs and gives the bike a unique, understated look.
-
Specialty Finishes: Some suppliers, including us, offer wilder options like glitter or holographic laminates for riders who really want to make a statement and stand out from the pack.
Choosing the right finish is all about your personal style. Gloss gives you that showroom shine, while matte offers a custom, dialed-back look. No matter what you pick, that protective quality is non-negotiable for making sure your dirt bike graphics kit can take a beating and still look awesome for seasons to come.
Getting the Perfect Fit for Your Bike Model
Picking a sick design for your dirt bike graphics kit is the fun part. But nailing the fit? That’s what separates a pro-level finish from a dodgy backyard job. A kit that’s off by even a few millimetres will lead to peeling edges, ugly bubbles, and a look that’s just plain wrong.
It’s like dropping cash on a top-tier race suit that’s a size too small—it just doesn't work.
The reality is, dirt bike plastics are not one-size-fits-all. Manufacturers are constantly tweaking their designs, changing the shapes of radiator shrouds, airboxes, and fenders with almost every new model year. A graphic designed for a 2022 Honda CRF450R will not line up on a 2023 model, even if they look almost identical at a glance.
This is exactly why choosing the right kit for your bike is the single most important step.
The Devil Is in the Details: Year, Make, and Model
Before you even start thinking about colours and logos, you need to lock down three things with 100% certainty: the year, make, and exact model of your bike. It sounds obvious, but this is where most mistakes happen.
For instance, saying you have a "Yamaha 250" isn’t enough. Is it a YZ250 two-stroke or a YZ250F four-stroke? Is it the motocross "F" model or the cross-country "FX"? Each one can have different plastics, especially around the fuel tank and side number plates.
Getting the fit right is non-negotiable. Think of a dirt bike graphics kit as a tailored suit for your machine. Close isn't good enough—it has to be perfect. Every curve, bolt hole, and air vent must align flawlessly.
To kill any guesswork, find your bike's Vehicle Identification Number (VIN) on the steering head of the frame. The 10th digit of the VIN tells you the exact model year. A quick search for a VIN decoder online will confirm everything, removing all doubt. This simple check will save you the headache of ordering a kit that’s destined for the bin.
Navigating Brand-Specific Plastic Shapes
Every major dirt bike brand has its own design language, meaning their plastics have unique quirks and contours. Knowing what to look for can help you double-check your order and understand why a kit is shaped the way it is.
-
KTM & Husqvarna: Famous for their sharp, angular bodywork. Pay close attention to the airbox and side panels, as their two-piece designs demand precise alignment. Newer models have big, flat surfaces that are great for graphics, but the edges are unforgiving if you get it wrong.
-
Yamaha: The modern YZ models have seriously deep radiator shroud contours with huge air scoops. This is where a high-quality, flexible vinyl is an absolute must—it needs to mould into those aggressive shapes without lifting.
-
Honda: The CRF line is known for its dual exhaust on some 450 models, which completely changes the shape of the right-side number plate. The latest models also rock slim, ergonomic plastics that require a kit cut with military precision.
-
Kawasaki: KX models often have a sleek, narrow feel. The fitment around the radiator louvres and rear fender can be tricky, so making sure the kit is for your exact year is crucial here.
-
Suzuki: While the RM-Z's classic yellow plastics have stayed relatively consistent, small year-to-year changes in the shrouds and number plates can still catch you out.
This level of detail is at the heart of Aussie customisation culture. Graphics kits have become the go-to for riders wanting both protection and a unique look. Kits cover everything from tank shrouds and fenders to fork guards and swingarms, with options to add your name, number, and logos for that factory feel. To see just how detailed these kits can get, you can find out more about custom OEM graphic kits.
Making sure your graphics kit is a perfect match is the first step to a bike that looks like it just rolled off the factory race truck. Here’s a quick checklist to keep in mind for the major brands.
Bike Brand Fitment Checklist
| Brand | Key Model Series | Common Fitment Check (e.g., Headlight Shape, Airbox Style) |
|---|---|---|
| KTM | SX/SX-F/EXC | Check for one-piece vs. two-piece side number plates. Headlight mask shape changes often on EXC models. |
| Yamaha | YZ/YZ-F/WR | Airbox intake design on newer YZ-F models. Fuel tank shape varies between F and FX/WR models. |
| Honda | CRF-R/CRF-X | Single vs. dual exhaust cutouts on right side plate. Fender and shroud shapes update frequently. |
| Kawasaki | KX/KX-F | Radiator shroud shape, especially around the louvres. Front number plate bolt pattern can vary. |
| Husqvarna | TC/FC/TE/FE | Airbox shape (often different from KTM equivalent). Subframe design (composite vs. aluminum). |
| GASGAS | MC/EC/EX | Based on KTM platform but often uses unique plastics. Verify shroud and fender shapes specifically. |
Remember, even if two bikes share a platform (like KTM and Husqvarna), their plastics are rarely identical. Always confirm your specific model.
The Aftermarket Plastics Problem
One final, critical point: are your plastics original (OEM) or aftermarket? While brands like Acerbis, Polisport, and Cycra make awesome replacement plastics, their shapes can differ slightly from the factory ones.
Most quality dirt bike graphics kit suppliers, including MotoXart, design their templates using OEM plastics. If you’ve fitted an aftermarket "restyled" kit to make an older bike look newer, a standard graphics kit for your bike's year will not fit.
Always check what plastics are on your bike before ordering. If you're running aftermarket plastics, you need a kit designed specifically for that brand and shape. Many suppliers offer this, so just be sure to select it when you order to guarantee that perfect, seamless finish your bike deserves.
Mastering the Installation Process
Putting a new dirt bike graphics kit on your machine might seem a bit daunting, but trust me, with the right approach, it's a job you can totally handle and get pro-level results. Think of it like this: the final look is all in the prep and technique. If you rush it, you'll end up with bubbles, wonky lines, and peeling edges—a frustrating way to waste a fresh kit.
We’re going to break it down into three dead-simple stages: Preparation, Application, and Finishing. Stick with these steps, and you'll nail a flawless, factory-quality finish that looks sharp and stays stuck, ride after ride.
The visual below recaps the first few steps we covered earlier, making sure you've got the basics sorted before you even peel a single sticker.

This just hammers home how crucial it is to know your bike’s exact model and year, ensuring the kit you chose is a perfect match before you start the real work.
Stage 1: The Critical Preparation Work
Honestly, this is the most important stage. A perfectly clean surface is everything when it comes to vinyl adhesion. If your plastics are dirty, oily, or covered in old sticker gunk, your brand-new graphics are pretty much doomed from the start.
First up, get those old graphics off. A little bit of heat from a heat gun or hairdryer will soften up the old adhesive, letting you peel them away cleanly without leaving a sticky mess. Take your time and pull at a low angle to minimise the glue left behind.
Once the old decals are gone, it's deep-clean time. Grab a good contact cleaner or some isopropyl alcohol and wipe down every single inch of the plastics. This strips away any lingering adhesive, oils, and grease. A word of warning: don't use a generic degreaser, as some can leave behind a slick film that stops the new vinyl from bonding properly.
Think of your plastics as a perfectly clean canvas. Any speck of dust, oil, or old glue is like a lump under the paint that will totally ruin the final look. You're aiming for a surgically clean surface to get the best possible stick.
For absolute top-tier results, we always recommend applying a new dirt bike graphics kit to a brand-new set of plastics. Fresh plastics are free from the deep scratches and scuffs that can trap air and cause bubbles later on.
Stage 2: The Application Method
With your plastics prepped and ready to go, it’s time for the fun part. It's best to work on one piece of plastic at a time, preferably off the bike, in a warm, well-lit space. Cold vinyl is stiff and a real pain to work with, so make sure both the graphics and the plastics are at room temperature.
Here’s our go-to, step-by-step method for a bubble-free finish:
-
Dry Fit First: Before you even think about peeling the backing paper, lay the graphic over the plastic to check its alignment. Get a feel for where it sits and note key reference points, like bolt holes or sharp body lines, to guide you.
-
Use the "Hinge" Method: Peel back just a small section of the backing paper—a few centimetres is perfect—and fold it over. Line up the exposed sticky side with your reference point and gently press it down with your thumb. This creates a "hinge" that holds the graphic in place while you work.
-
Squeegee and Peel: Using a felt-tipped squeegee, start applying firm pressure from the centre of that hinged area and work your way outwards. Slowly pull the backing paper away with one hand while you continue to smooth the graphic down with the squeegee in the other. This pushes the air out as you go, preventing bubbles from ever forming.
-
Work the Curves: When you hit a sharp curve or a deep recess, a bit of heat is your best friend. Briefly warm the vinyl with a heat gun to make it soft and stretchy. This lets it conform to the shape without creasing. Just be careful not to overdo it—too much heat can warp or damage the vinyl.
Stage 3: The Finishing Touches
Almost there! Once all the graphics are on, the final step is to lock them down for good. This is what stops the edges from lifting after your first muddy ride or a good pressure wash.
Go over every single edge of every graphic with your heat gun on a low setting. Gently warm the edges and then press them down firmly with your thumb or the side of the squeegee. This process is called post-heating, and it activates the adhesive to form a permanent bond with the plastic.
Finally, let the bike sit for at least 24 hours before you ride it. This curing time is absolutely vital for the adhesive to reach its maximum strength, making sure your sick new look lasts for seasons to come.
Making Your Graphics Truly Yours
This is where the real fun starts. Moving beyond a pre-made design and into a fully custom dirt bike graphics kit is how you turn your machine into a proper reflection of who you are as a rider. It’s your chance to create something that’s 100% you.
This level of personalisation is about more than just picking a cool design off the shelf. It’s about dialling in the details that make your bike yours—your name, your race number, and the logos of the brands that have your back. It's how you build your identity on and off the track.
The desire for this kind of individuality is booming. In Australia, between January and March 2021 alone, over 11,600 new dirt bikes hit the dirt—a massive 88.9% jump from the year before. That surge points directly to a huge demand for custom touches that help riders stand out from the crowd. You can dig deeper into the trends in the Australian dirt bike market here.
Building Your Identity with Names and Numbers
Adding your name and race number is the first and most crucial step in personalising your kit. This isn't just for pro racers; it gives any rider a clean, professional look and makes the bike unmistakably theirs. Plus, it makes it way easier for your mates, family, and trackside photographers to spot you in a pack.
When you order your kit, you’ll see fields to enter this info. But don't stop there. The style of the font and the colour of the numbers play a massive role in the final look.
Your name and number are the core of your bike's identity. Choosing the right font and colour is like picking the perfect signature—it needs to be clear, stylish, and a reflection of you.
Here at MotoXart, we give you a massive font library to choose from, so you can find a style that matches your vibe. Whether you want a super clean, modern look or something more aggressive and edgy, the right font makes all the difference.
Choosing Colours and Adding Logos
Colour is how you tie your whole setup together. A custom colourway lets you perfectly match your graphics to your bike frame, anodised parts, riding gear, and helmet. It creates that cohesive, head-to-toe professional look that just screams factory.
You can specify custom colours for different parts of the design, ensuring every piece of the puzzle fits your vision. This is your chance to go wild with fluoro highlights or dial it back with a stealthy, tonal scheme.
For sponsored riders or anyone wanting to rep their favourite brands, adding logos is a must. Our design process lets you upload sponsor logos, and we’ll integrate them seamlessly into the graphic layout. Just be sure to provide high-quality logo files (vector files like .ai or .eps are best) to make sure they print sharp and clear.
The Design and Proofing Process, Demystified
Creating a fully custom look is a team effort to make sure you get exactly what you're picturing. Here’s a quick rundown of how it works:
-
Your Brief: You kick things off by sending us your ideas—name, number, colour preferences, and any logos you need.
-
Digital Proof: Our design team gets to work and creates a digital mock-up, or a "proof," showing exactly how the final graphics will look on your specific bike model.
-
Review and Revise: You check out the proof and tell us what you think. This is your time to tweak colours, shift a logo, or try a different font until it’s perfect.
-
Final Approval: Once you’re 100% happy with the design, you give us the final green light.
This proofing stage is super important. It takes all the guesswork out of the process and guarantees the kit that shows up at your door is exactly what you wanted, ready to bring your vision to life.
Right, you’ve spent the time and money getting your dirt bike graphics kit looking mint. The mission now is to keep it that way.
Proper maintenance is what separates a kit that looks sharp for years from one that starts peeling and fading way too early. The good news? It’s pretty simple if you just follow a few ground rules.
Keep That Pressure Washer at Bay
Believe it or not, the biggest enemy of your new graphics isn't a crash—it's your pressure washer. While our kits are built tough, the edges of your decals are their weak spot. Blasting them head-on with high-pressure water forces water underneath, killing the adhesive and causing the vinyl to lift. It's a rookie mistake, but an easy one to avoid.
The trick is to always stand back a bit and spray at a 45-degree angle. Never, ever hit the edges directly. This gets the mud off just fine without wrecking the bond you worked so hard to create.
Smart Cleaning and Quick Fixes
When it’s time to wash the bike, be smart about what you’re spraying on it. Stay away from harsh degreasers or chemicals that aren't specifically marked as "vinyl-safe." Aggressive cleaners can eat away at the adhesive and dull the protective laminate over time. Honestly, a simple bike wash or a mild, pH-neutral soap is all you need to get the job done right.
Even with the best care, riding is tough and things happen. Don't stress—a few small repairs are easy to sort out.
-
Lifting Edges: If you see an edge starting to peel up, grab a hairdryer. A little bit of heat is your best friend here. Gently warm the area, then press it down firmly with a clean microfibre cloth and let it cool. This usually reactivates the adhesive and gets it to stick down solid again.
-
Small Tears: For minor rips, you can usually stop them from getting worse. Clean the area carefully, then use that same heat trick to smooth the torn edges back down as flush as you can. If you want a cleaner fix, you can even use a tiny, well-placed patch from any leftover material in your kit.
Good maintenance is all about building smart habits. A gentle wash and five minutes of quick repairs after a ride will do more to make your kit last than anything else. It’s a tiny bit of effort that pays off big time.
Follow these simple steps, and you'll protect your investment and keep your bike looking factory-fresh on the track or trail all season long.
Got Questions? Here Are the Answers
When you're diving into the world of dirt bike graphics, a few questions always pop up. Getting straight answers is the key to making a good choice, nailing the installation, and keeping your bike looking sharp. We’ve rounded up some of the most common queries to make sure you get it right the first time.
One of the biggest questions we hear is about putting new graphics on old plastics.
Can You Stick Graphics on Old or Scratched Plastics?
Look, while you technically can, we really don't recommend it if you want a pro finish. The adhesive on a new dirt bike graphics kit is designed for a perfectly smooth, clean surface to get that super-strong bond. Deep gouges and heavy scratches on old plastics create tiny air pockets, and that’s a recipe for bubbles and premature peeling.
For that factory-fresh, long-lasting look that actually stays put, always install a new graphics kit on a fresh set of plastics. It’s the only way to guarantee the best possible stick.
How Long Until I Can Ride?
Patience is your best friend after a fresh install. You'll want to let the graphics cure for at least 24 to 48 hours before you even think about hitting the track or trails. This downtime gives the adhesive time to fully bond with the plastic and reach its maximum strength.
Riding too soon is one of the easiest ways to undo all your hard work. Kicking up mud, water, or just putting stress on the edges before the adhesive is fully set is the fastest route to lifting and peeling graphics.
Full Kits vs. Trim Kits
Knowing the difference between these two will save you from ordering the wrong thing. It's pretty simple.
-
Full Kit: This is the whole shebang. You get graphics for all the main plastic parts of your bike—radiator shrouds, front and rear fenders, side number plates, the airbox, fork guards, and sometimes even the swingarms. It’s a complete visual overhaul.
-
Trim Kit: This is your minimalist option, often called a "backgrounds kit." It usually just covers the number plates and maybe the airbox. It’s perfect if you just want to add your race number and keep the rest of your bike's stock look.
Ready to give your bike a fresh identity with a kit that fits perfectly and is built to last? At MotoXart, we've got premium graphics for every major brand, with all the customisation you could ask for. Check out our designs and give your ride the pro-level look it deserves at https://motoxart.com.